- Joined
- Jul 18, 2020
- Points
- 128
- Location
- Portchester, Fareham
- Model of Z
- 1998 BMW Z3 Individual 1.9 M44 B19
ok so the end of another day under the car... today's focus was more connecting up and sorting out the Prop shaft bolts
Yesterday I mentioned the flange had jammed against the diff, so as I suggested yesterday, I took the middle heat shield off and disconnected the centre bearing. Must say it didn't give me as such play as I thought. So the thoughts of disconnecting the whole prop shaft briefly ran through my mind....
.....until
I dug out a reasonably sized crow bar and after fettling for what must have been at least half an hour, I managed to jemmy the flange and pull the centre bearing down just enough for all four bolts to be pressing on the diff flange. Then it was a collection of gentle twists to get the holes to line up. As soon as I got two in....get those nuts on !!

eventually got all four in... then I used a tyre lever to jam the prop shaft so I could tighten up the bolts with a ring spanner. God knows how you're supposed to torque them. No chance of even getting a socket on there let alone a torque wrench.
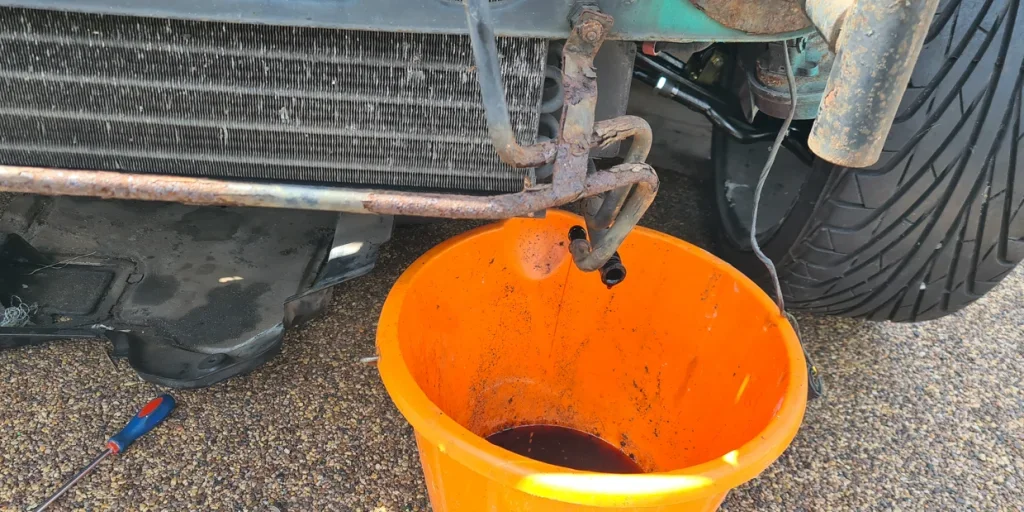
With those nice shiny zinced nuts, there no way I could leave the prop shaft in that state..... soooooo
I rubbed it down and painted it. Paint one section, leave it to dry, turn it round, paint that bit, wait to dry... etc


There, much better


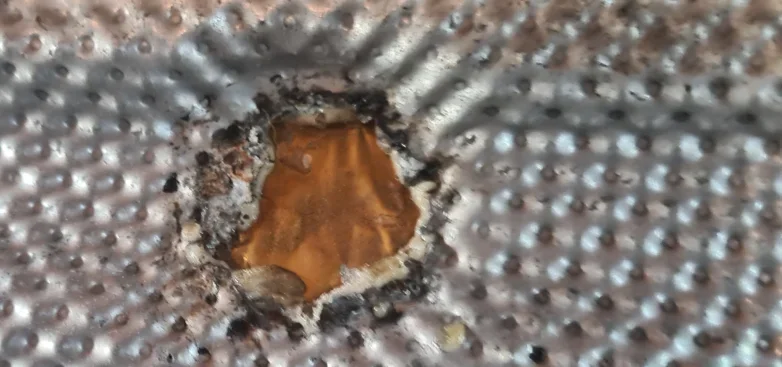
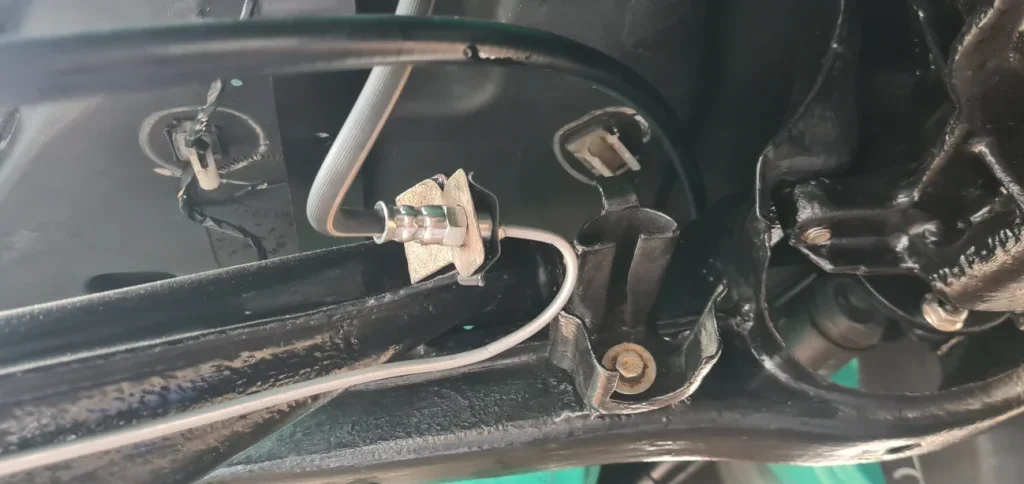
Time to look and the handbrake cables.... they fed themselves into the cabin, then I had a head scratcher..... there's no way that "spreader plate" is going over that threaded end.

Previous cables must have been a different design. Can't remember
So I adapted, and stuck on a couple of washers instead, I'll put on the lock nuts when I've sorted out the shoe adjustment.

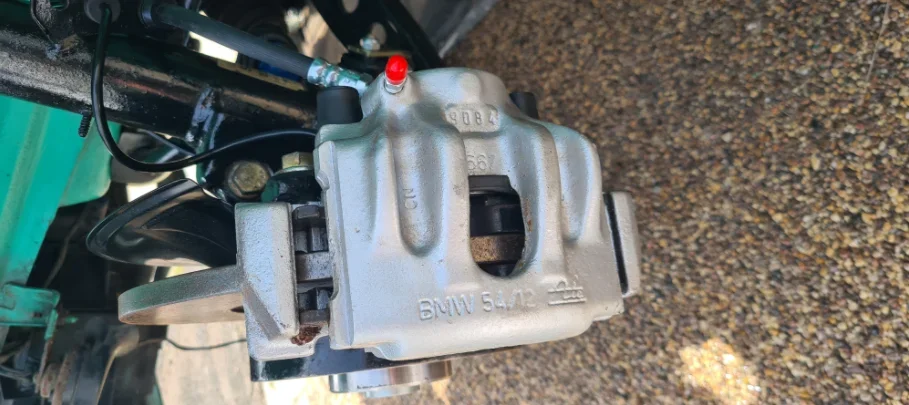
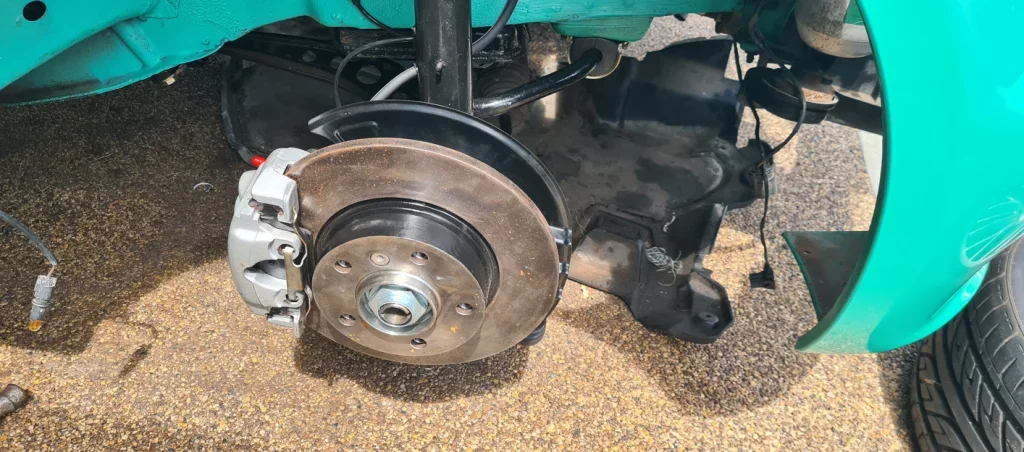
quick jump to the front, as if you recall one of my lower control arms didn't come with the nut for the strut. Anyway, eventually a new one turned up and I got it onto the car.

Again I think this is Gooduntight ? as there's no way of torqueing it. So that's probably it now until next weekend !
Yesterday I mentioned the flange had jammed against the diff, so as I suggested yesterday, I took the middle heat shield off and disconnected the centre bearing. Must say it didn't give me as such play as I thought. So the thoughts of disconnecting the whole prop shaft briefly ran through my mind....
.....until
I dug out a reasonably sized crow bar and after fettling for what must have been at least half an hour, I managed to jemmy the flange and pull the centre bearing down just enough for all four bolts to be pressing on the diff flange. Then it was a collection of gentle twists to get the holes to line up. As soon as I got two in....get those nuts on !!
eventually got all four in... then I used a tyre lever to jam the prop shaft so I could tighten up the bolts with a ring spanner. God knows how you're supposed to torque them. No chance of even getting a socket on there let alone a torque wrench.
With those nice shiny zinced nuts, there no way I could leave the prop shaft in that state..... soooooo
I rubbed it down and painted it. Paint one section, leave it to dry, turn it round, paint that bit, wait to dry... etc
There, much better
Time to look and the handbrake cables.... they fed themselves into the cabin, then I had a head scratcher..... there's no way that "spreader plate" is going over that threaded end.
Previous cables must have been a different design. Can't remember
So I adapted, and stuck on a couple of washers instead, I'll put on the lock nuts when I've sorted out the shoe adjustment.
quick jump to the front, as if you recall one of my lower control arms didn't come with the nut for the strut. Anyway, eventually a new one turned up and I got it onto the car.
Again I think this is Gooduntight ? as there's no way of torqueing it. So that's probably it now until next weekend !
")
)")