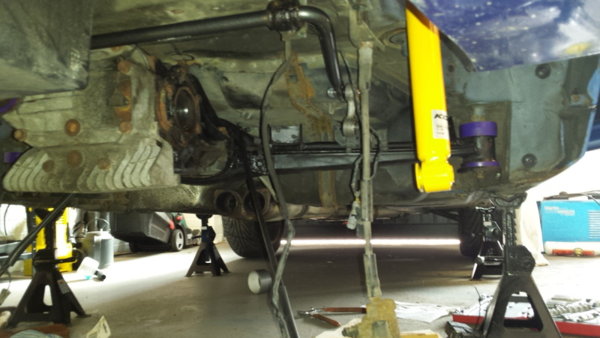
Rear trailing arm removal. Help!!

gookah

Zorg Guru (IV)
Supporter
British Zeds
Joined
Dec 7, 2011
Points
170
Location
Shropshire
Model of Z
2.8 Z3
ALSO, the arm should be held at normal working height before the nuts and bolts are tightened back up. This is so there is no twist in the bushes when in working conditions.

Tony.
I am not convinced. They are not a torsion bar, they are designed to stop fore and aft, side to side, and up and down movement, not resist rotational movement. After all they get greased to prevent squeaks, and squeaks are from movement around them rather than twisting.
Mine started squeaking even though the grease was used. A couple of squirts with 3 in 1 and the squeak has gone.
 

Antm72

Zorg Expert (II)
Supporter
British Zeds
Joined
May 4, 2015
Points
246
Location
South Yorkshire
Model of Z
2.8
The bush itself does not rotate in the arm but the centre pin is pinched and rotates with in the bush it squeeks if iys not lubricated correctly as it snags the bush.
Some bushes are made with a cross hatching pattern to help them hold grease to avoid this happening.
 

t-tony

Zorg Expert (II)
Supporter
British Zeds
#ZedShed
Joined
Dec 31, 2013
Points
226
Location
Torksey Lock,Lincoln, England
Model of Z
E89 Z4 23i Auto
The point is that the rubber bush itself is twisted by the up and down movement of the arm. If you start with it in the central unloaded position it gives equal movement up and down . If you fix it in the fully down position as soon as you lift it to even fit the shock absorber bolt you have put twist into the rubber to start with, then if the arm rotates upwards by putting the weight of the car on the wheels it only rotated further upwards twisting the rubber even further. Makes sense to me.

Tony.

ps. This is something I was tought as an apprentice, not just something I dreamed up.
 
Last edited:

Antm72

Zorg Expert (II)
Supporter
British Zeds
Joined
May 4, 2015
Points
246
Location
South Yorkshire
Model of Z
2.8
I think the obove would apply to the stock bush but poly comes in 3 pieces so it works differently as all parts are independant compared to the one piece OEM one :thumbsup:
 

Z3I

Zorg Legend
Supporter
British Zeds
Joined
Nov 10, 2016
Points
75
Location
Weybridge, Surrey
Model of Z
Fiji green 2.8
@Z3L if you need to borrow any tools give me a shout, I've got the long ring spanners in @t-tony link, I'm sure I've had lots of extension bars on these bolts before to get a ratchet on from past the wheel arch. Horrible to get off.
I'm back from my New Year break now, and back to thinking about this job. I'll have a chat with you tomorrow Andy, when I pick up some parts from you. Doesn't sound easy!
 

Z3I

Zorg Legend
Supporter
British Zeds
Joined
Nov 10, 2016
Points
75
Location
Weybridge, Surrey
Model of Z
Fiji green 2.8
Thanks all for the hints and tips. I think I'm going to refurb both sides, so rear beam removal may be the way?
 
  • Like
Reactions: Lee

spurs fan in a coupe

Zorg Guru (V)
Supporter
3rd Party Trader
Joined
Dec 5, 2011
Points
175
Thanks all for the hints and tips. I think I'm going to refurb both sides, so rear beam removal may be the way?
You'll probably (hopefully) see one dropped on the floor when you stop by tomorrow. I've made a good start on loosening all the bolts.
 

Antm72

Zorg Expert (II)
Supporter
British Zeds
Joined
May 4, 2015
Points
246
Location
South Yorkshire
Model of Z
2.8
I noticed how rusty they were when I was under the car yesterday, I doubt I'll ever get a good set to be honest
No problems if its just all surface rust i can get them cleaned up even a set to take and have them engineered would be good as i can not buy new.:thumbsup:
 

Z3I

Zorg Legend
Supporter
British Zeds
Joined
Nov 10, 2016
Points
75
Location
Weybridge, Surrey
Model of Z
Fiji green 2.8
No problems if its just all surface rust i can get them cleaned up even a set to take and have them engineered would be good as i can not buy new.:thumbsup:
After poking about under my car, Ive realised that everything that was given a light coat of black paint, mostly the running gear of the car, has now got a film, or worst, of rust. Those tank straps on mine could do with being replaced too. have you taken them off yet to see how bad they are? I'm also trying to source a good pair, and I think only the short one is still available?
 

Gremlin

Zorg Guru (III)
British Zeds
Joined
Aug 10, 2016
Points
128
Location
Salisbury
Model of Z
Z3 1.9
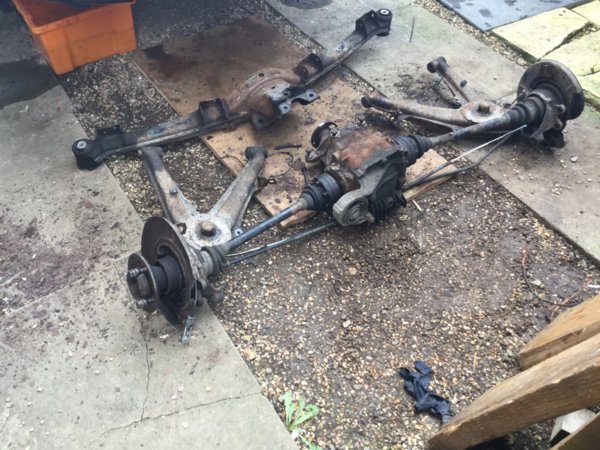
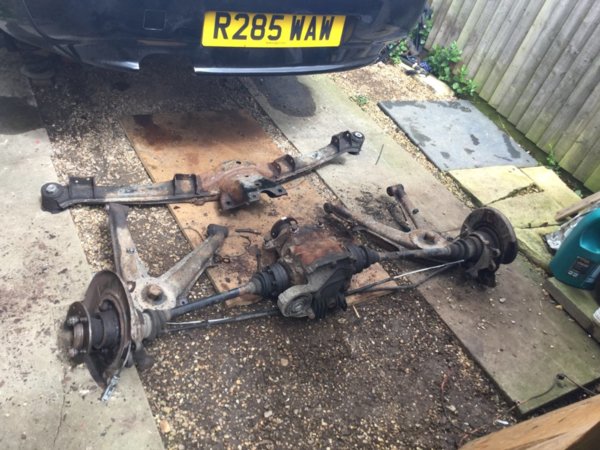
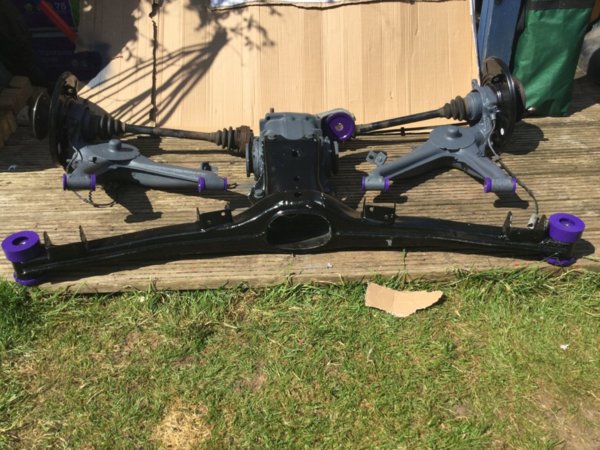
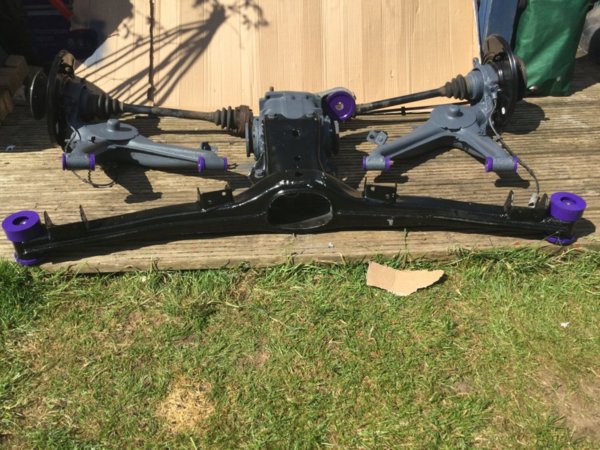
It can be done in car but as some one else said at the point you will be at it would probably be easier to drop the beam. I had mine on the ground and to get those long bolts that go through the bushes I had to drive them out. I did find on my own it was easier to put back in bits. Beam and diff first then the swinging arms.
Shame you are not closer I’d have given you a hand as I’ve got all the big flat combination spanner’s plus sockets to fit.
 

Attachments

Chazzy

Zorg Legend
Joined
Jul 14, 2015
Points
83
Location
Northampton
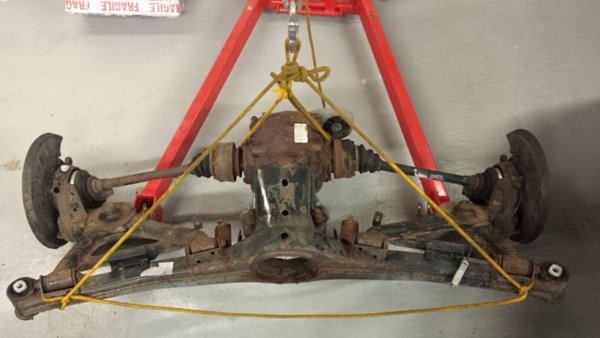
I'd go with dropping the whole beam. There's the two main nuts underneath the beam studs, then there's two hex head bolts on each side holding in the mount - I found these near on impossible to get out due to them being rusty and easily rounded off. Make sure you soak them in plusgas etc first, then give them loads of heat before even attempting to undo. The beam should then drop quite easily.

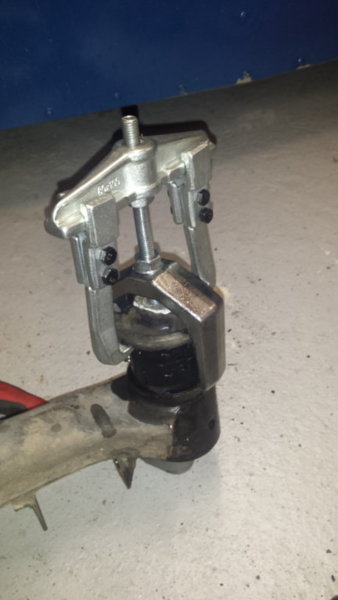
While you're at it, I would check the diff mount for any cracks along the welds and also the state of the boot floor. Along with replacing the trailing arm bushes, I'd also do the beam bush, although this are tricky to remove. I ended up making a tool to do it.

As others are said, it's easier to put the beam and diff back in first and then refit the trailing arms.20150804_103912.jpg

11738113_10100395188323455_727550310484854879_n.jpg

20150730_220151.jpg
 

Cooper

Zorg Guru (IV)
Supporter
Australian Zeds
Joined
Apr 17, 2014
Points
157
Location
Hobart Tasmania Australia
Model of Z
3.0i 2001
@Chazzy , when you say put in the beam first with the dif and then the rear trailing arms....

- do you mean re-attach the dif to the rear beam, hoist up and secure the diff mount and rear beam mounts leaving the trailing arms with the hubs attached hanging down [with drive shafts still attached], then attach the trailing arm back one by one?

Or something else, like having the rear hubs disconnected from the diff output shafts to the hubs, up goes the difff and beam, then reattach the trailing arms and then the 2 x drive shafts to the hubs...

I ask in ignorance but I will be doing this same thing very soon by myself. I will be welding in the camber and toe adjusters in though as well as changing all bushings including the rear drop links.
 
Top